Getting There
- Go to SARE Projects at https://projects.sare.org/
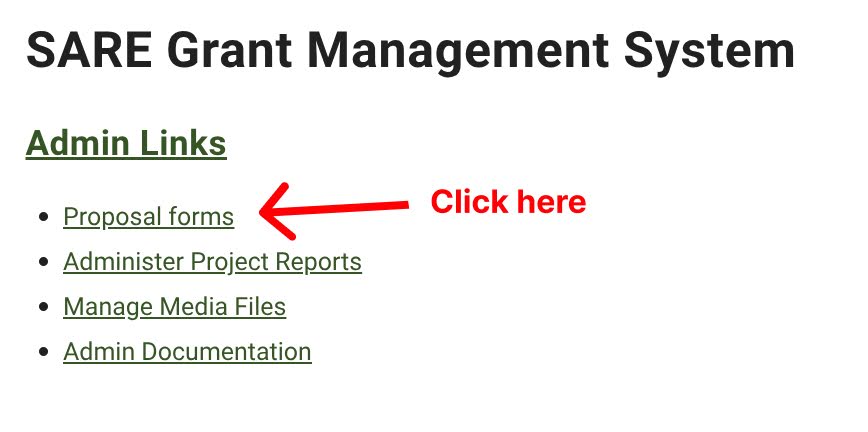
- On the home page, click “Proposal forms”.
- Locate the grant year for the proposal you are looking for.
Note: If you are looking for older proposals, then click the “Show Previous Years” button at the top.
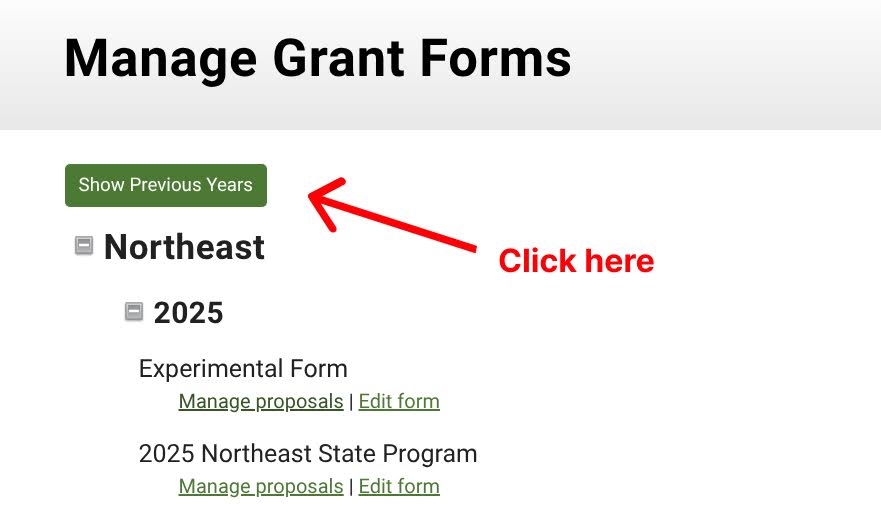
- Scroll down to the desired year.
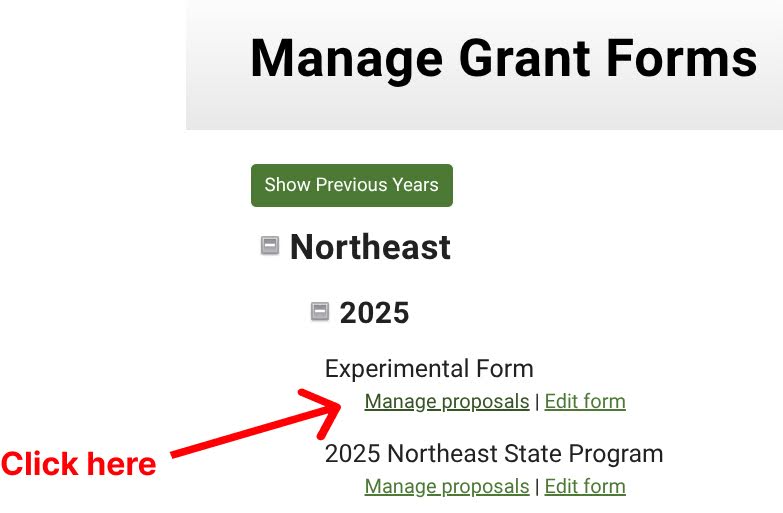
- Click the plus icon to see all of the grants.
- Underneath the grant name, click “Manage proposals”.
Approve or Reject the Proposal
- Find the proposal you want to approve or reject, and click “Manage”.
- Click “Approve/Reject”.
- Under “Is this proposal approved”, select Yes or No.
If “No” is selected:
-
- You can click “Invite to Revise/Resubmit” if the applicant needs to make changes.
- Under “Reviewer comment summary”, you can select “Insert all review comments” if you think that it would be helpful.
- You can click “See all reviews for this proposal” to see what the reviewers’ comments are before doing this.
- In the same section, you can also add your own comments or instructions for the applicant.
- In the “Admin comments (seen by admins only)” section, you can write comments to be seen only by other regional or national administrators.
- Click “Save”.
If “Yes” is selected:
-
- Amount to fund: You can enter the amount that you would like to grant to them.
- On the right in parentheses, the system shows the amount that was requested.
- Grant Recipient:
- Grant recipient type: Select the type of grant that will be provided
- Contract start date: The requested start date is automatically filled in, but you can change it if needed.
- Contract end date: The requested end date is automatically filled in, but you can change it if needed.
- Project number: A project number is automatically assigned. You can change it if there is a different naming convention that your region uses.
- Under “Reviewer comment summary”, you can select “Insert all review comments” if you think that it would be helpful.
- You can click “See all reviews for this proposal” to see what the reviewers’ comments are before doing this.
- In the same section, you can also add your own comments or instructions for the applicant.
- In the “Admin comments (seen by admins only)” section, you can write comments to be seen only by other regional or national administrators.
- Click “Save”.
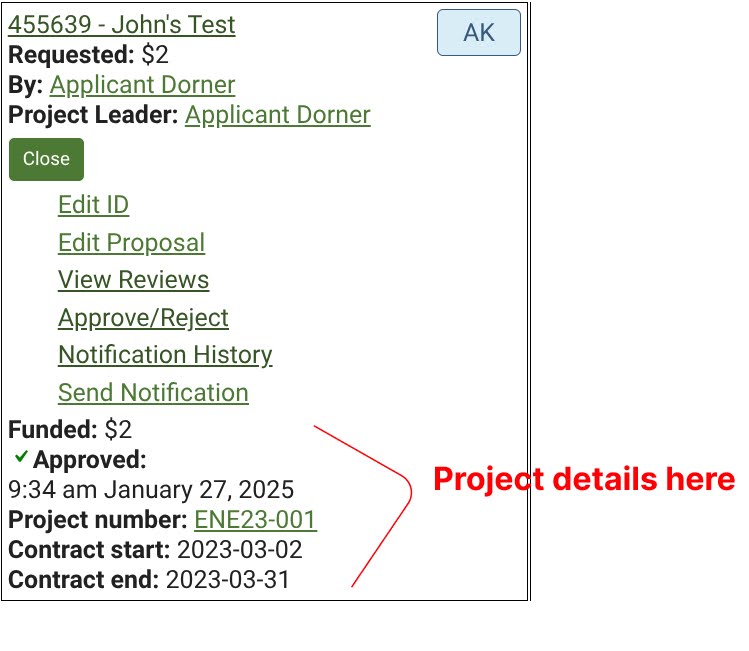
- You can now see the approved project details under the individual proposal’s menu.
- Amount to fund: You can enter the amount that you would like to grant to them.